Thursday, September 9, 2021

3D Thursday: Tea Light Gift Box


Happy Thursday, everyone!  I'm excited to share a project with you today that I created for the 3D Thursday Group.  I created a box/card that holds four tea light candles from just one sheet of cardstock, a few small pieces of DSP, and our new Blackberry Beauty Ephemera Pack.  This is the perfect little gift for a friend, coworker, or hostess!


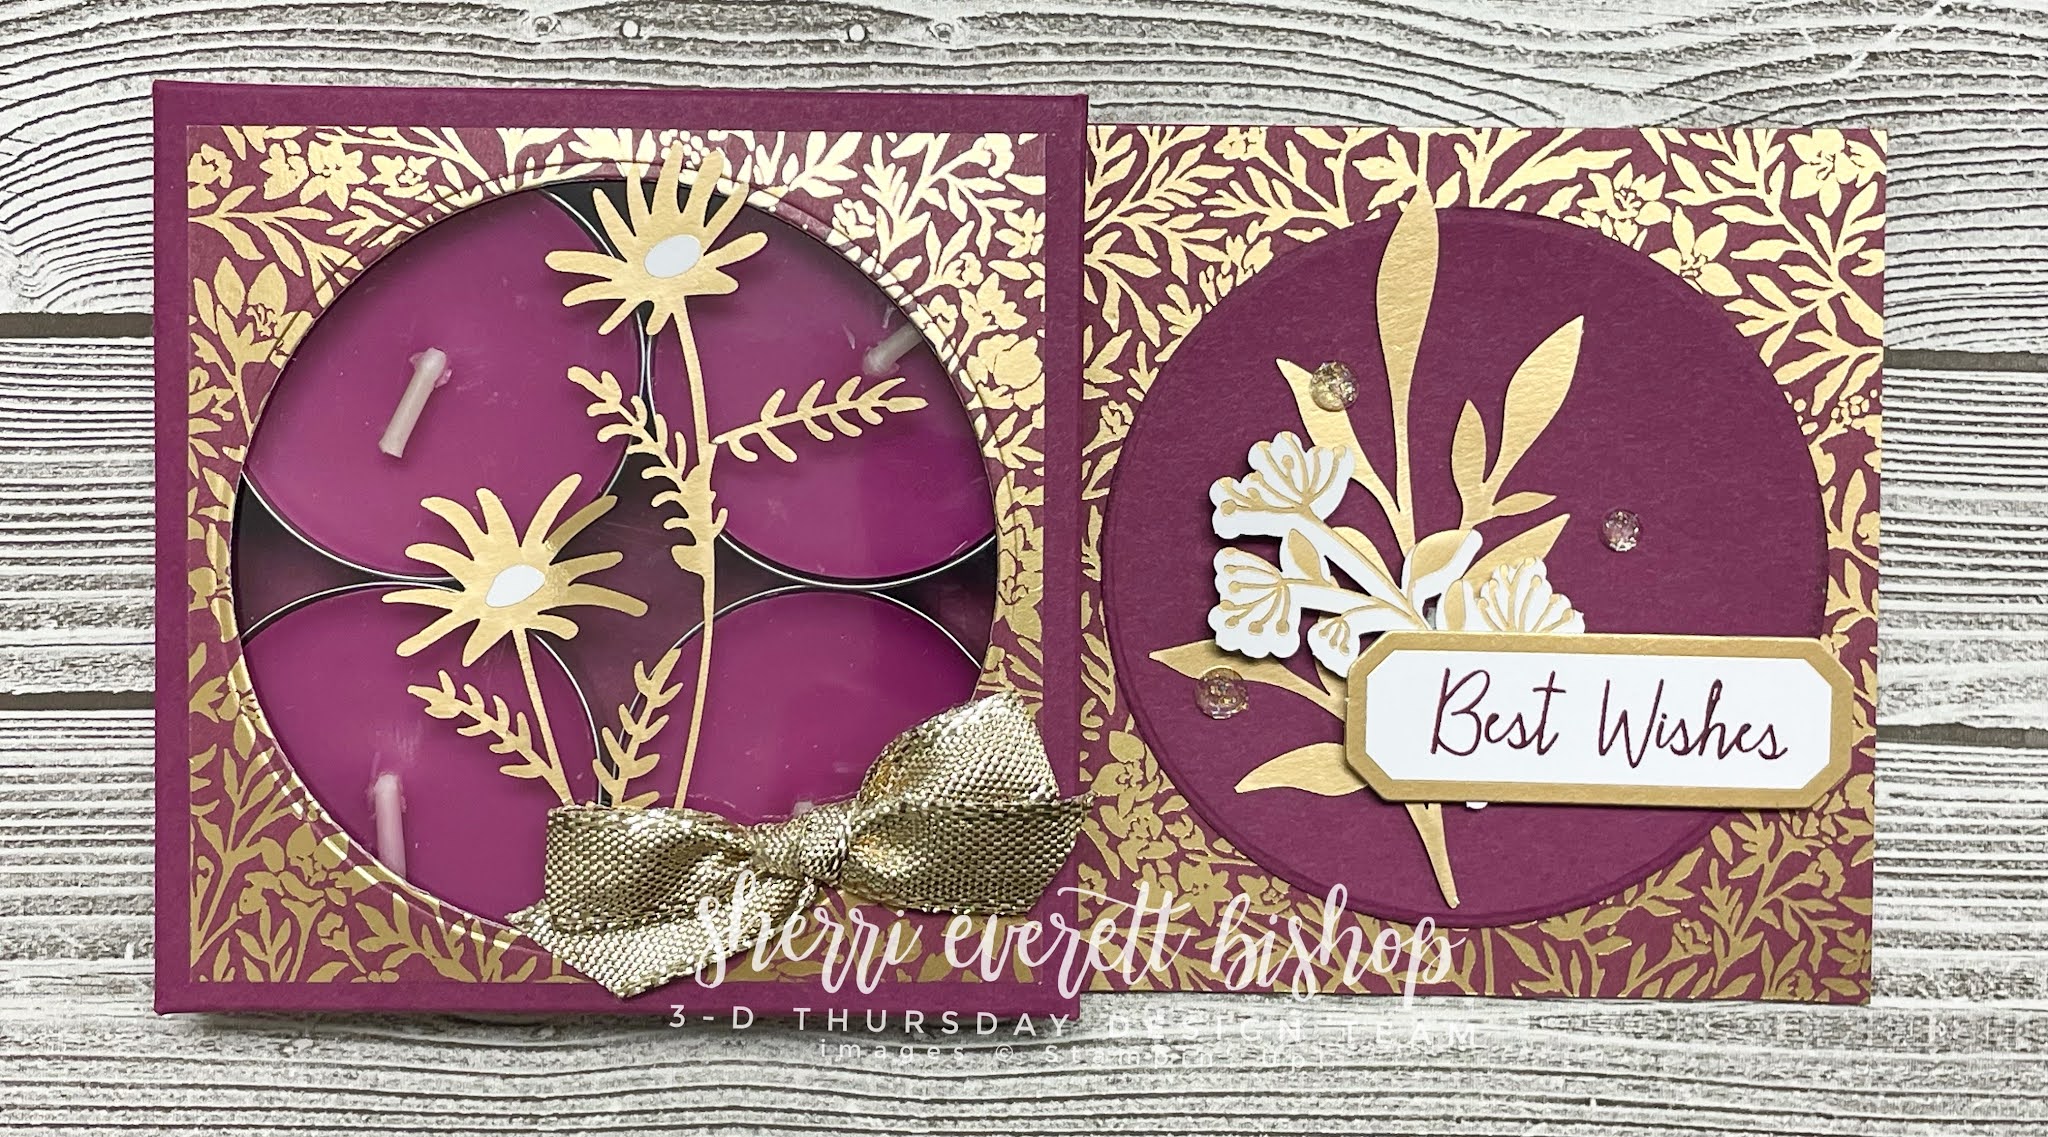
Doesn't this project show off our stunning new Blackberry Beauty Suite in a great way?  The DSP is foiled on one side, which means it packs a big "punch" without adding much else.  The Ephemera Pack also makes creating easy, as it includes foil die-cuts that are ready-to-use.  I simply stamped a sentiment on a die-cut label and PRESTO! A gorgeous gift with little fuss!

Take a peek at the details, then download the FREE PROJECT SHEET below!


Click HERE for your free project sheet!


Thursday, September 2, 2021

3D Thursday Blog Hop: Mini Jam Jar

Welcome to the September Blog Hop hosted by the 3D Thursday Design Team!  The design team recently doubled in size and now consists of 8 designers.  I feel so fortunate to be one of the new members!

We have all created a 3D project for you that features Stampin' Up!'s adorable mini jam jars.  Although these are featured in our new annual catalog as part of the You're a Peach suite, they can be used for SO many different things and decorated in so many different ways!  I created a little berry box from cork paper to hold my mini jam jar of candy, then created a matching 3"x3" card.  What an adorable little fall gift for a friend or co-worker!

To create the berry box, you will simply need cork paper, Tear & Tape, and a scoring tool.  (I used the scoring blade on my paper trimmer.)  

First, cut two pieces of cork paper that measure 2" x 6".  Score at 2" and 4".  Fold along score lines and adhere the middle sections together.

Next, cut a 1/2" x 12" piece of cork paper.  Score at 2-3/4", 5-1/2", 8-1/4" and 11".  Fold along score lines and adhere the 1" end flap under with Tear & Tape.  This will create a square for the band of the berry box.  


Then, use Tear & Tape to adhere each flap to the band, centering the sides.  (There will be a "gap" at each corner.)

Finally, embellish your berry box with a tag and die-cut leaves.


I used the Seasons of Fun Host Stamp Set and the Love of Leaves Stamp Set to create my coordinating mini card.  You can see the full list of supplies for each project at the bottom of this post.


I'm so glad that you stopped by today to check out my project!  Next up on the hop is Rick Adkins-simply click the "Next" button below to hop on over to Rick's blog!


Here are the supplies I used to create my berry basket and card set:

Product List